ERP Enablement
This section describes the ERP enablement procedure.
Enabling SOAP Web Services
To enable SOAP web services, follow these steps:
-
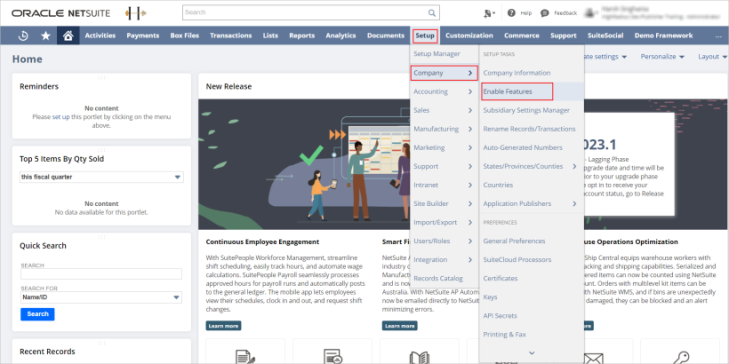
Navigate to Setup > Company > Enable Features.
-
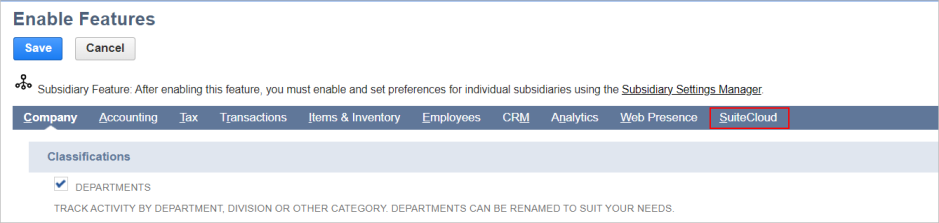
In the Enable Features screen, click the SuiteCloud subtab.
-
Ensure that the SOAP WEB SERVICES and REST WEB SERVICES features are enabled.

-
Click Save.
Creating Users
-
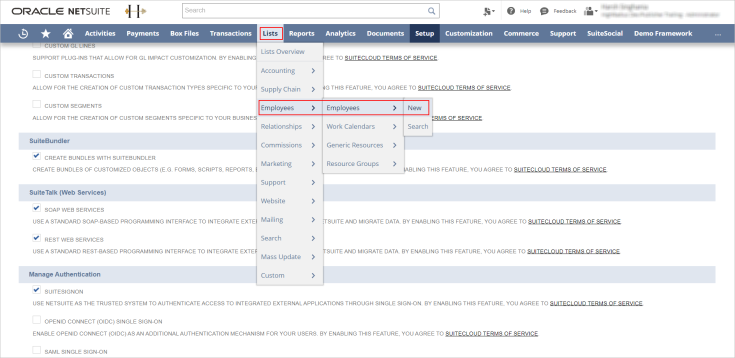
Navigate to List > Employees > Employees > New.
-
In the Employee screen, provide all the relevant details of the new user and click Save.
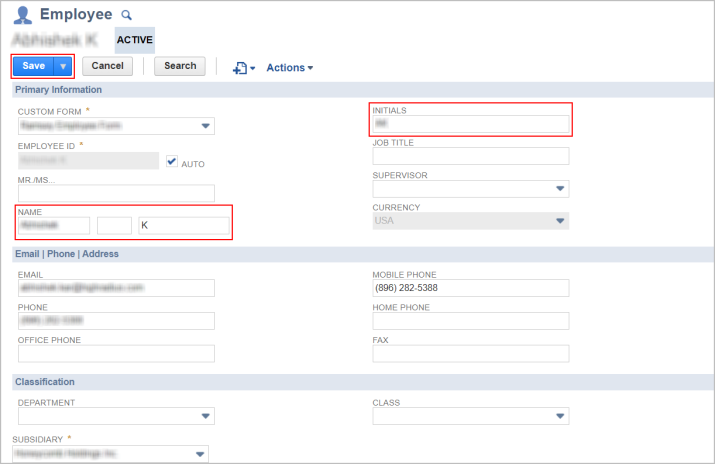
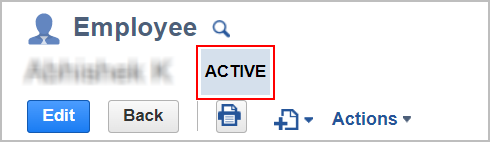
After the details are saved successfully, a confirmation message is displayed in the screen and the status of the user is displayed beside the username.
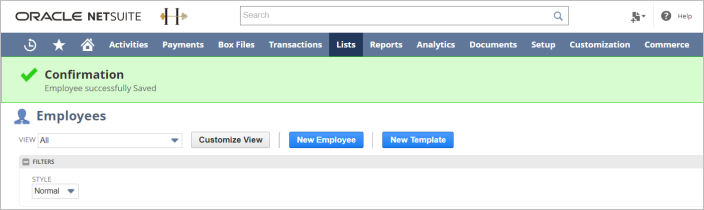
In this case, the status is Active.
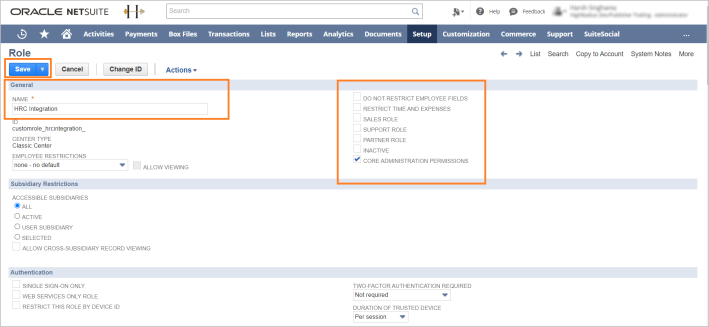
Creating a Role
To a new user role, follow these steps:
-
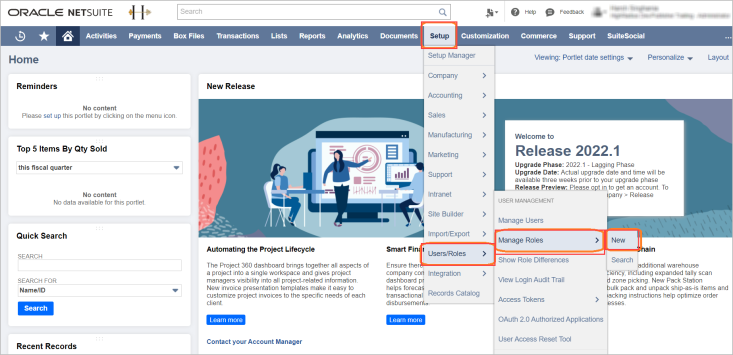
Navigate to Setup > Users/Roles > Manage Roles > New.
-
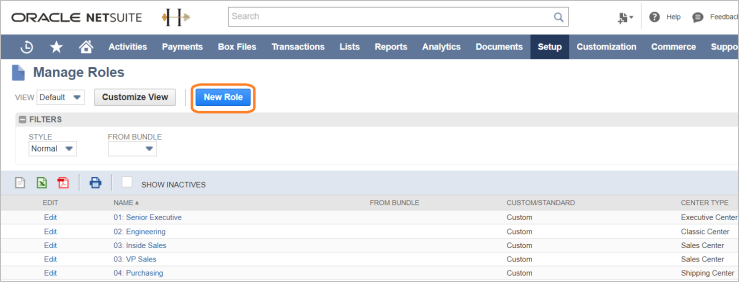
In the Manage Roles screen, click the New Role button.
-
Provide a name for the role, and select a function for the role.
-
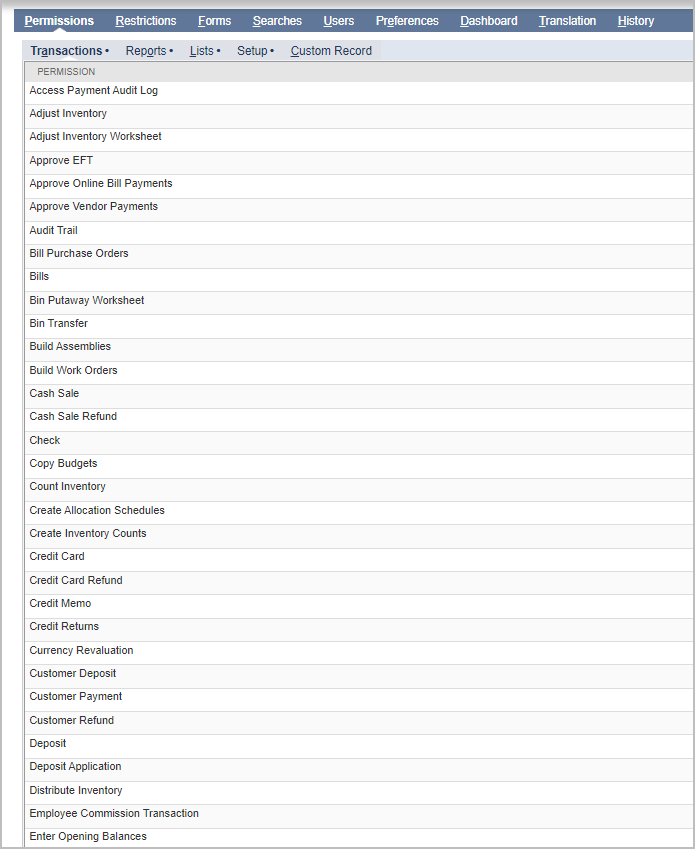
Set the Permissions and Restrictions from the respective subtabs.

-
Specify the Transactions for the corresponding roles.
-
Specify the Reports for the permission.

-
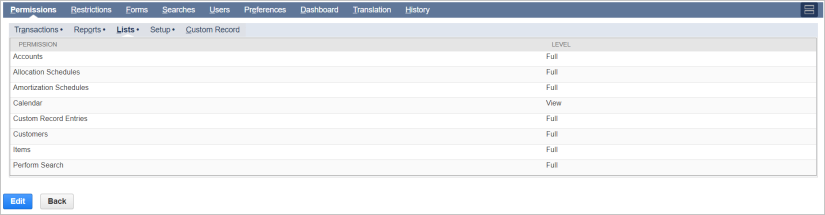
Specify the Lists for the corresponding roles.
-
Specify the details of the Setup for the corresponding role.

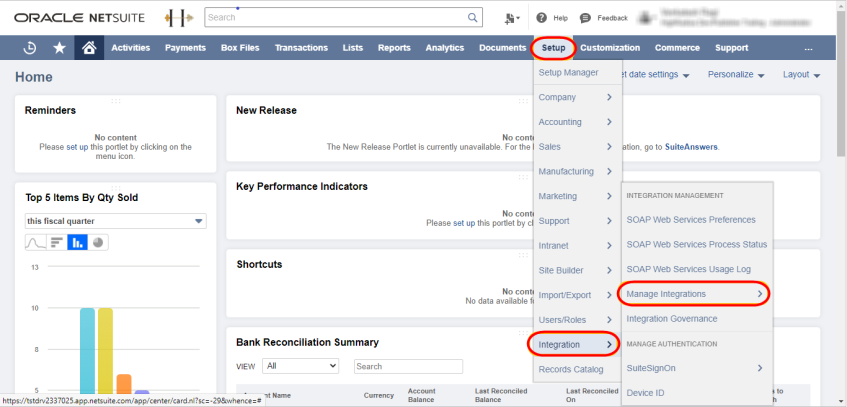
Generating Access Tokens
To generate consumer key and consumer secret tokens, follow these steps:
-
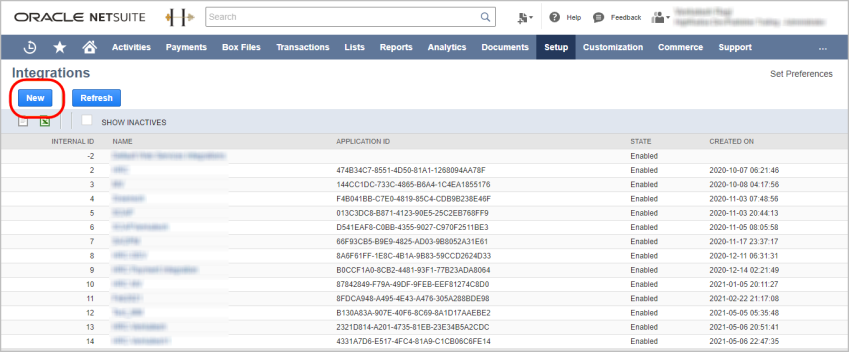
Navigate to NetSuite > Setup > Integrations > Manage Integrations.
-
In the Integrations screen, click New.
-
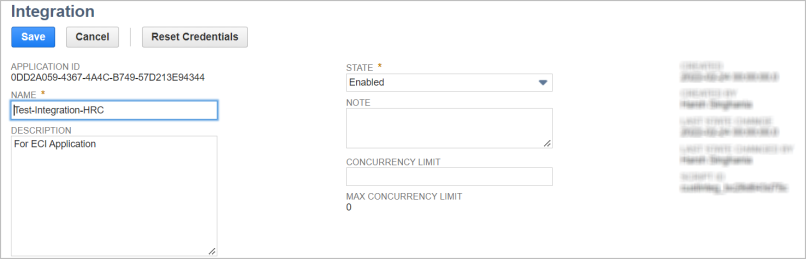
Provide Name and Description.
-
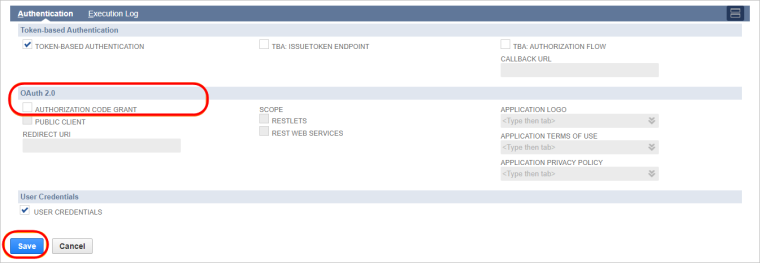
Enable TOKEN BASED AUTHENTICATION, and ensure that TBA AUTHORIZATION FLOW CALLBACK URL is unchecked.

-
Ensure that the OAuth 2.0 values are unchecked.
-
Click Save.
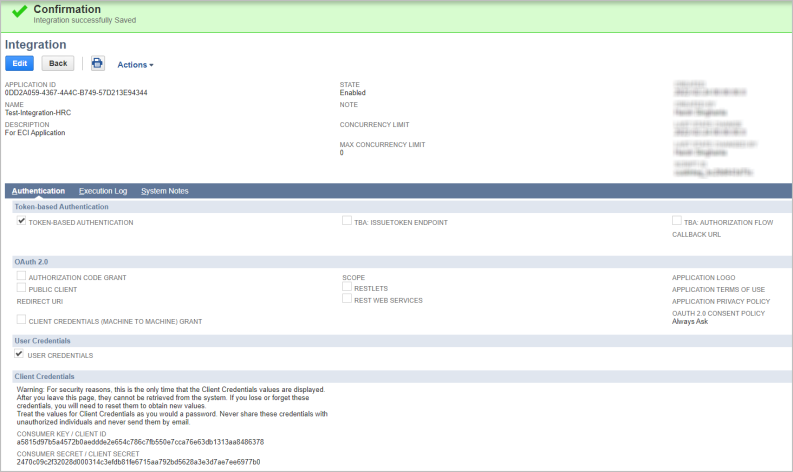
Clicking Save displays a confirmation message in the screen along with the Consumer Key and Secret.
|
|
Note Tokens are displayed only once, and must be copied from this screen. |

Creating an Access Token
To create an access token for a user, follow these steps:
-
Navigate to Setup > Users/Roles > Access Tokens.
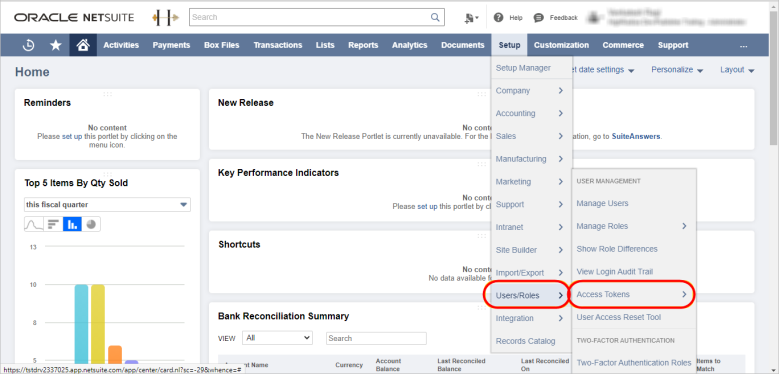
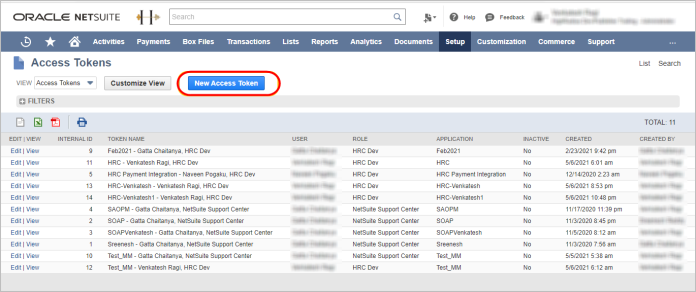
-
In the Access Tokens screen, click New Access Token.
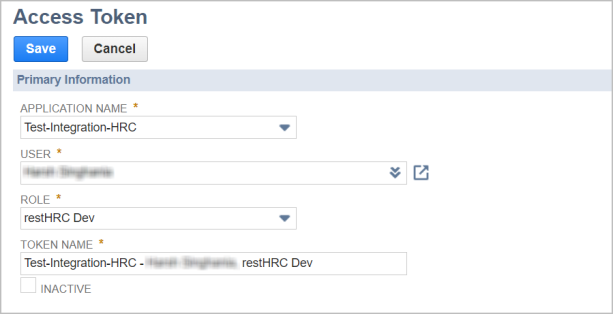
-
Select the previously created integration from the Application Name drop-down list.
-
Select the User from the drop-down list.
-
Select the required ROLE from the drop-down list. The role must be assigned the required grants.
-
Click Save.
Clicking Save displays a confirmation message in the screen.

-
Copy the tokens from the Token Id / Secret panel.

Authentication
For NetSuite Authentication, the Client must provide the endpoint URL to HighRadius.
To validate NetSuite authentication, follow these steps:
-
Navigate to the NetSuite homepage > Customization > Scripting > Scripts.

The scripts mentioning HRC are displayed.
-
Filter the Restlet type scripts.

-
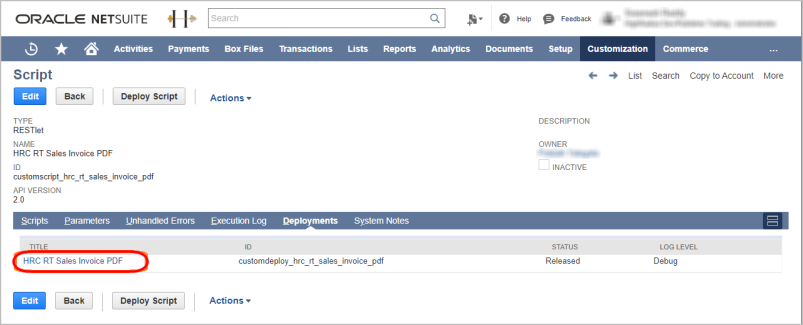
To view the HRC RT Sales Invoice PDF REST type scripts, click the View button alongside the script.
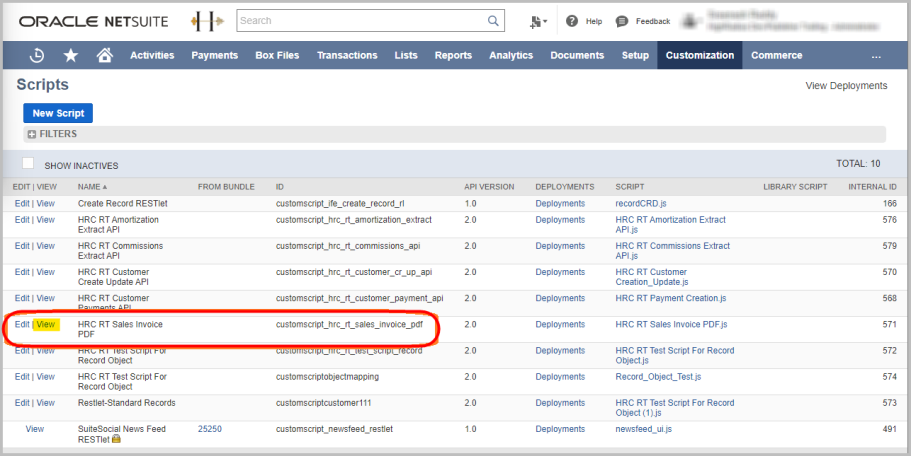
Clicking View displays the Script Details screen consisting of the Name and script Type.
-
Click the Deployment tab to expand the title.

-
Click the link under the TITLE column to view the Script Deployment screen.
-
Copy the External URL from the Script Deployment screen.

The External URL is the endpoint URL that must be copied and sent to HighRadius.
Similarly, the endpoint URL for all the RESTlet type scripts such as, HRC RT Customer Payments API, must be sent to HighRadius by clients.
Bundle Installation Guide
Refer to HEX SFTP for more information on installing a bundle.
Managing Saved Searches
Saved searches are the views in SQL, consisting of the required conditions and columns to access each extract data. The following section describes about modifying the Out-of-the-Box Saved Searches, which correspond to the respective interfaces in HighRadius.
To modify saved searches, follow these steps:
-
Log in to NetSuite Portal.
-
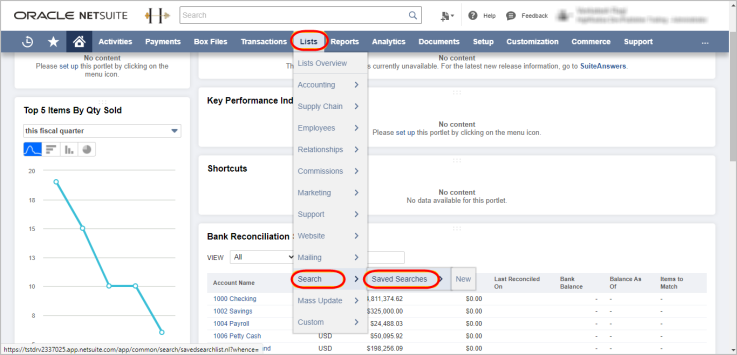
Navigate to Lists > Search > Saved Searches.
-
Filter the required saved search, and click View.
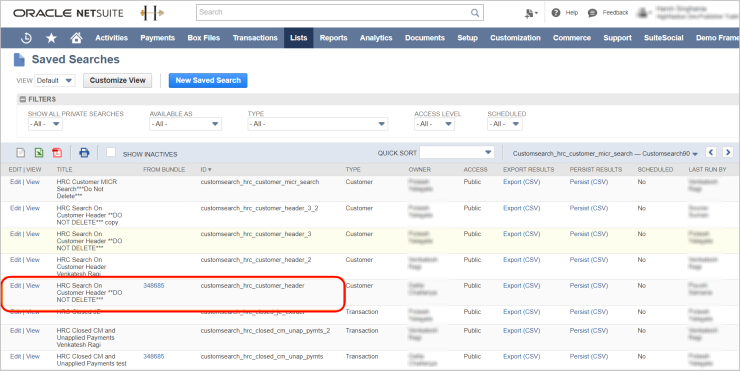
The result of the saved search is displayed in the screen.
-
Click Return To Criteria to view the search conditions and columns.
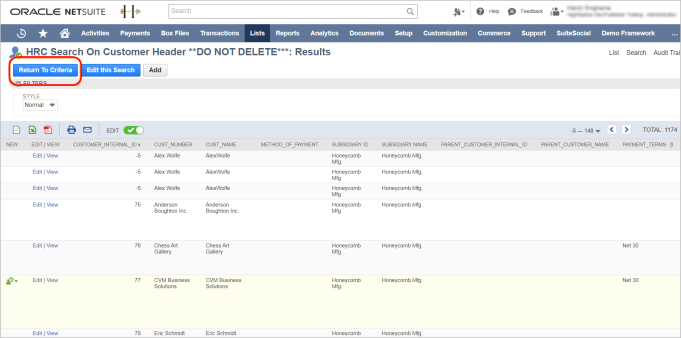
The Customer Search window is displayed. You can fetch the SQL columns from the Criteria subtab in the window.
-
Select the required Filter from the drop-down list.
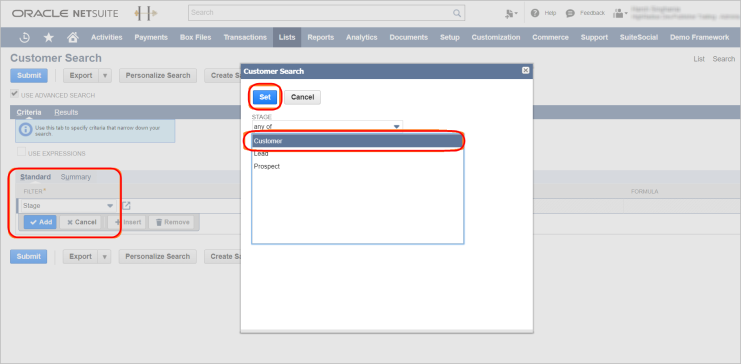
You can add more filters by clicking the Add option.
-
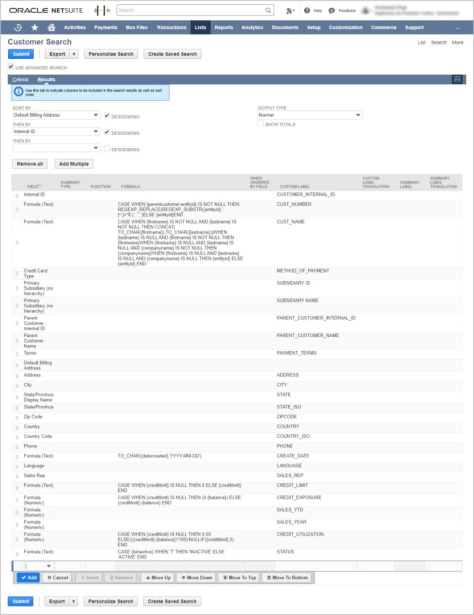
Refer to the following for more details on the columns to be fetched.
-
Procure the fields without the Formula fields. To validate, refer to Saved search > Formula fields. You can remove the formula fields after which, the fields used in the formula can be added one by one.
-
To procure data for individual extracts, set Sort By as last modified before ensuring that Last Modified field is added in Columns.


-
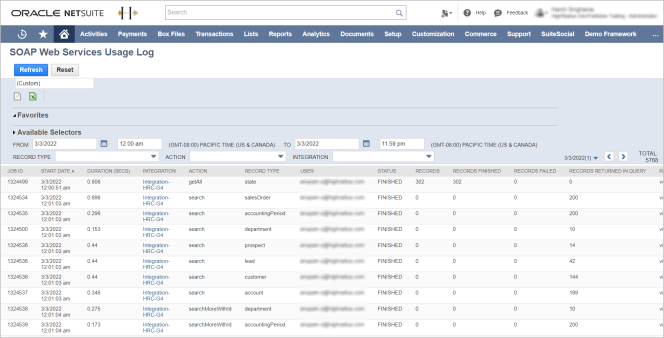
SOAP Web Services Usage Log
All soap calls are logged in NetSuite, and can be used for debugging purposes.
To customize the Out-of-the-Box feature, navigate to Setup > Integration > SOAP Web Services Usage Log.
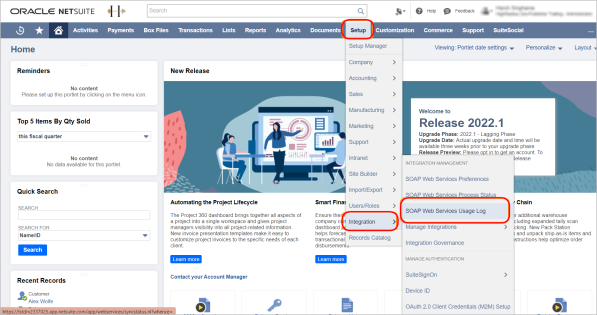
The SOAP Web Services Usage Log screen is displayed.
Login Audit Trail Search
Navigate to Setup > Users/Roles > Login Audit Trail Search.
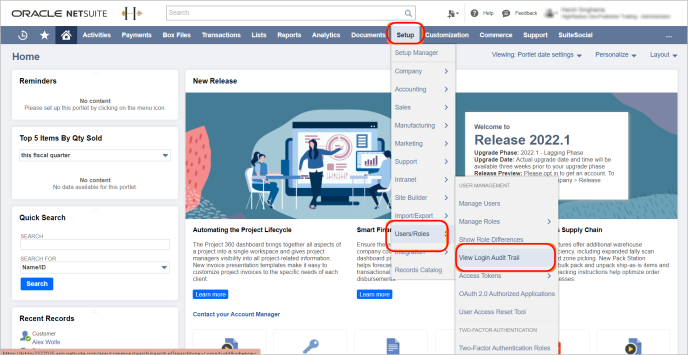
Add the Detail column in results and submit them for authentication related logs.